Political Cartoon:
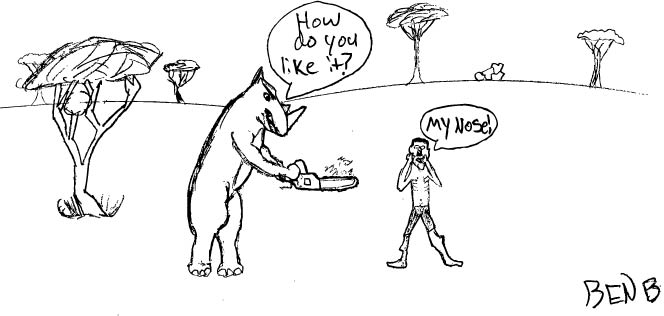
Reflection: To me I met the objectives. I thought I did a good job illustrating my point in my political cartoon. It was simple but everyone can still understand the point and what it is trying to illustrate. I think everyone is able to understand my point. Information can be shared artistically by showing a point. By exaggeration, funnyness, and a pun. This being a political cartoon. When you create art you get to tell the story behind it and design it yourself. This meaning that no one else can say its there's, its only yours. You get to decide what it means to you, not others, that's the beauty behind art.
Self Portrait
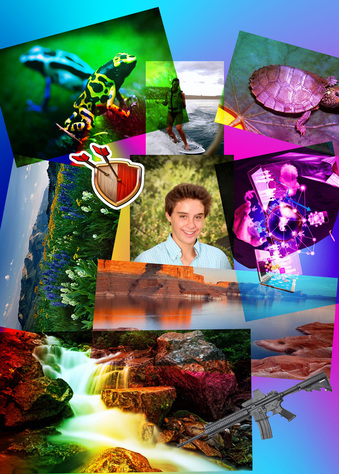
For this project we were asked to create a self portrait reflecting our selves. I made mine in Photoshop with my school picture and a photos that represent me.
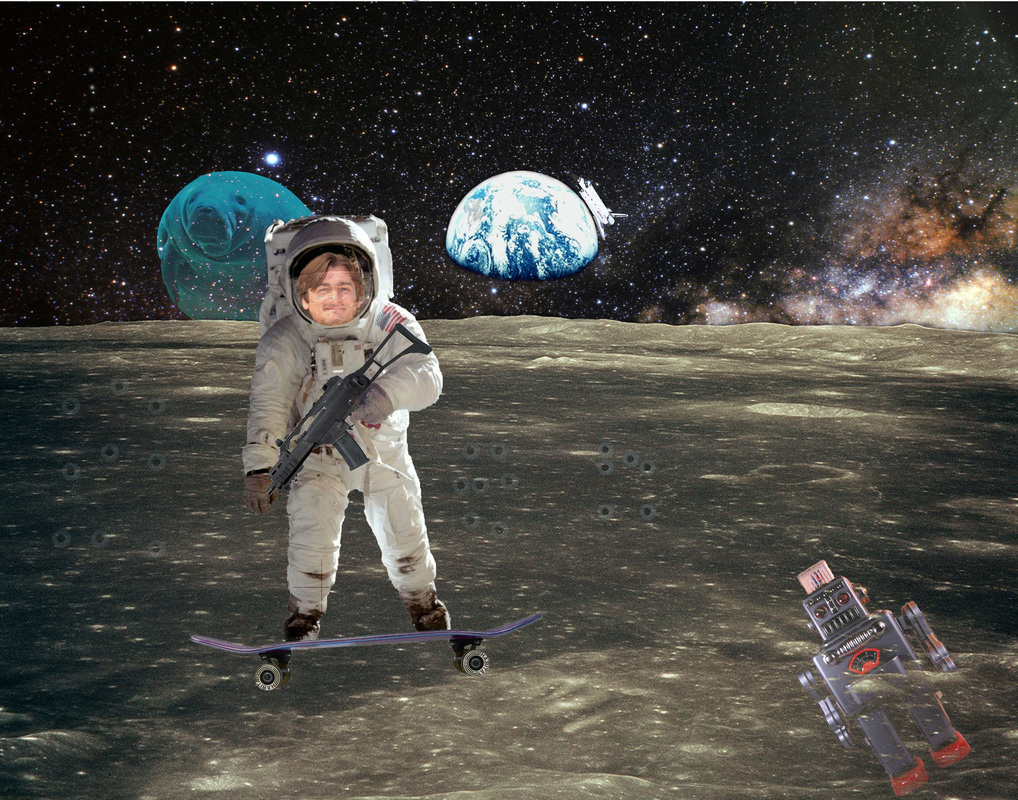
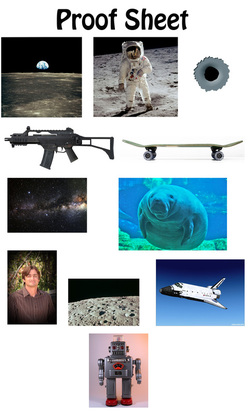
TEACHER CREATURE PROJECT
|
For the teacher creature project our job was to send out a form to the teacher we wanted to do. On the form there were questions of what they wanted to have done or made. We then took these ideas and made them into a fun creative picture. The hardest part of the project was quick selecting images and then dragging them over and editing them. Editing them is where it got hard because you had to zoom in and use the eraser tool to get rid of the background on the picture. I persevered by keep going and not quitting. My favorite part was the end and seeing my work. It was nice seeing all the hard work finished and good looking. One thing I learned about myself as an animas high school student is that a lot of school work is based online. Because this is a project base learning school we do a lot online. We did a lot of the same stuff at Mountain Middle School. I learned that I am kind of an OCD person and I like my stuff to look the best it can be. I like my edges to be feathered and everything that I copy in I make sure that its all erased. Overall I liked the project and I thought it was really fun and cool. I liked that it was up to you of what to do and that you had to be creative.
|
|
PHOTOSHOP TUTORIALS:
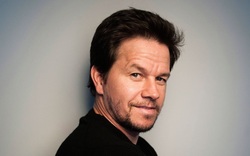
Before changing hair color.
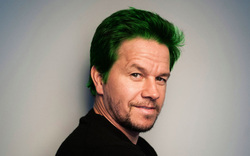
After changing hair color.
I changed the hair color on a new layer by getting the paint brush, changing the opacity to 50% and changing the layer blend mode to overlay. I then picked a color and colored his hair.
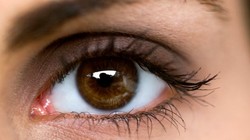
Before changing eye color.
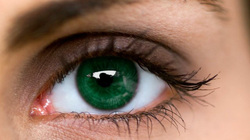
After changing eye color.
- First I took the pen tool circled around the eye then made the selection, then feathered the edge, and then I changed the Hue/Saturation.
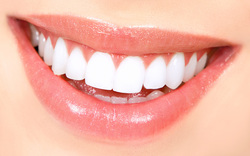
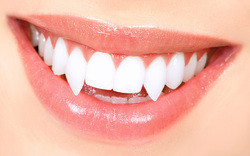
Before adding vampire teeth.
After adding vampire teeth.
The first step in this one was circling the pen tool around the tooth I wanted to use. Then you made the selection and feathered the edge to 1. You then copied the layer (ctrl j) and warped it until it looked like vampire teeth.
Before adding crack and peel texture.

After adding crack and peel texture.
First you find a desert background. Put it on the top layer lower opacity down. Erase picture just to face. Then I scrolled through the blending layer options until I found soft light. Which to me looked the best.
LANDSCAPES:
UNDERSTANDING DISTANCE WITH SCALE & PROPORTION
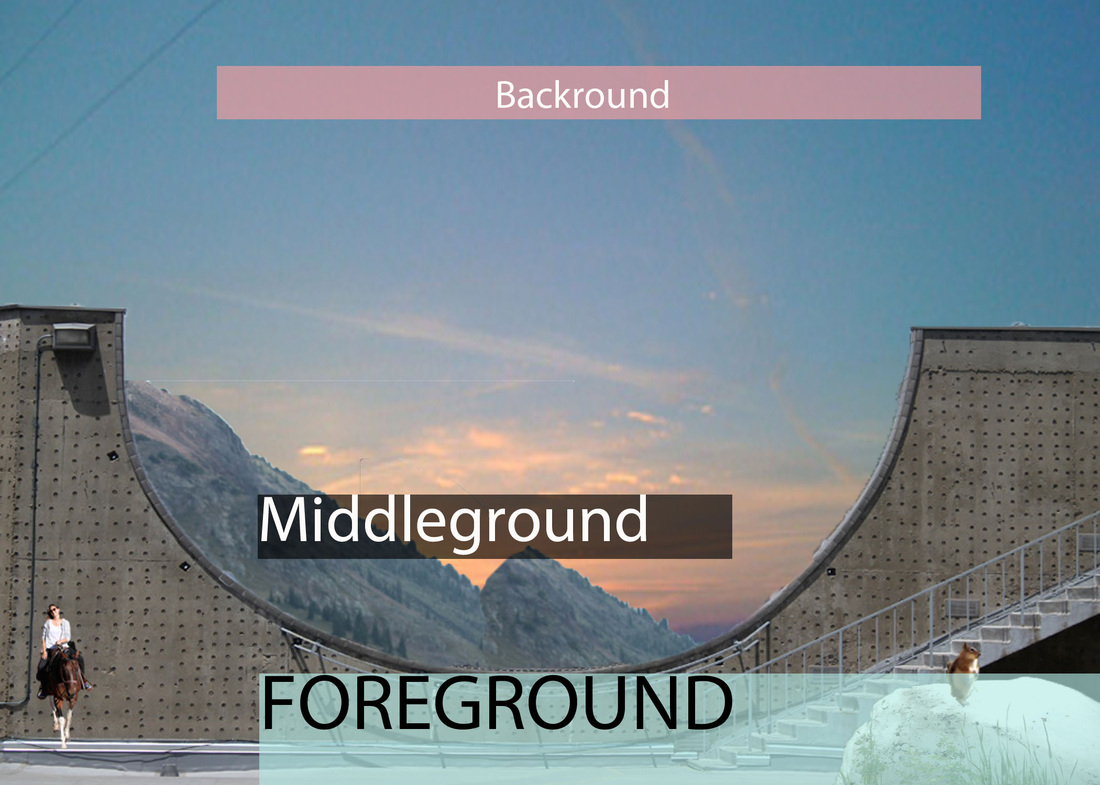
In this project I learned about the following: Foreground is the area in the picture closest to you. It should have high detail to it and for the most part the point of emphasis. The middleground things start to get a little blurry but you can still tell it apart. Background objects are blurred together and hard to see. The tool in Photoshop I found most useful was the quick selection tool. It helped me out with all of the pictures I put in this. It was also helpful to know that you can press the Alt key and it will take away selection. It is always important to save as a psd. first then save as a jpeg. When you save as a jpeg it compresses all layers that you can never get back. So that way when you save as a psd first it backs it up just in case you need to go back in and change it.
NAME PROJECT:
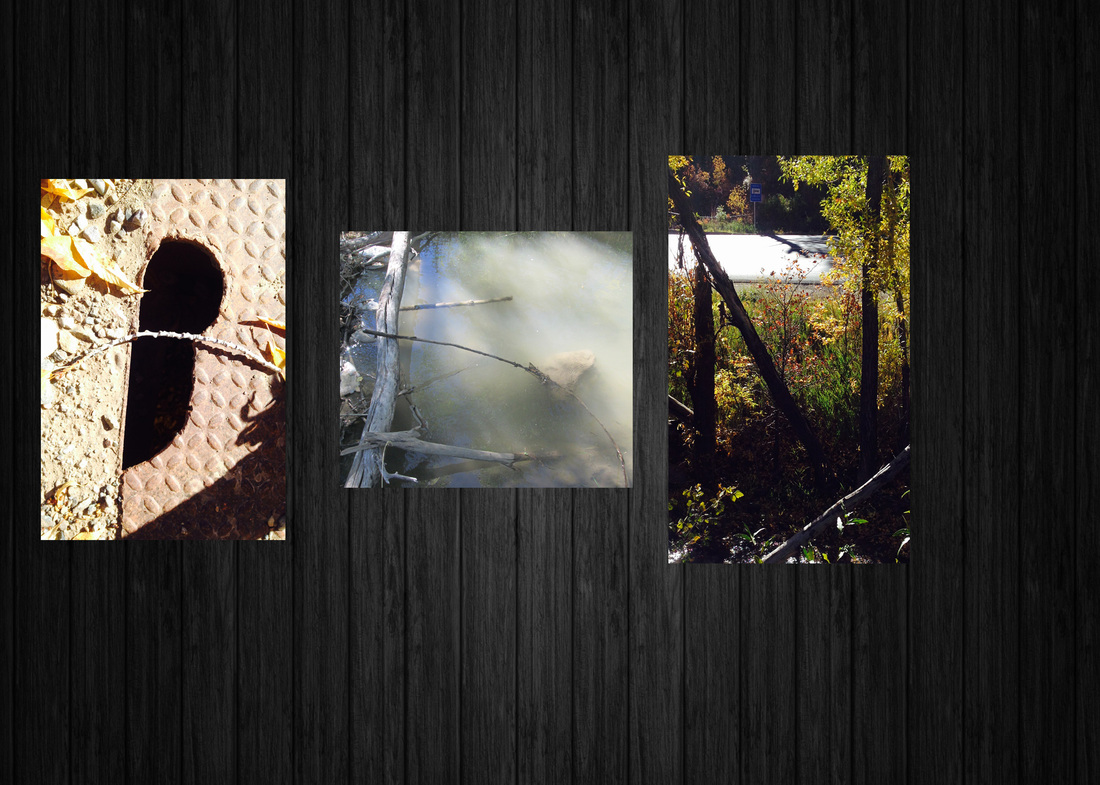
We took pictures of things you find naturally in nature. We used digital cameras and then opened and edited them in Photoshop.
